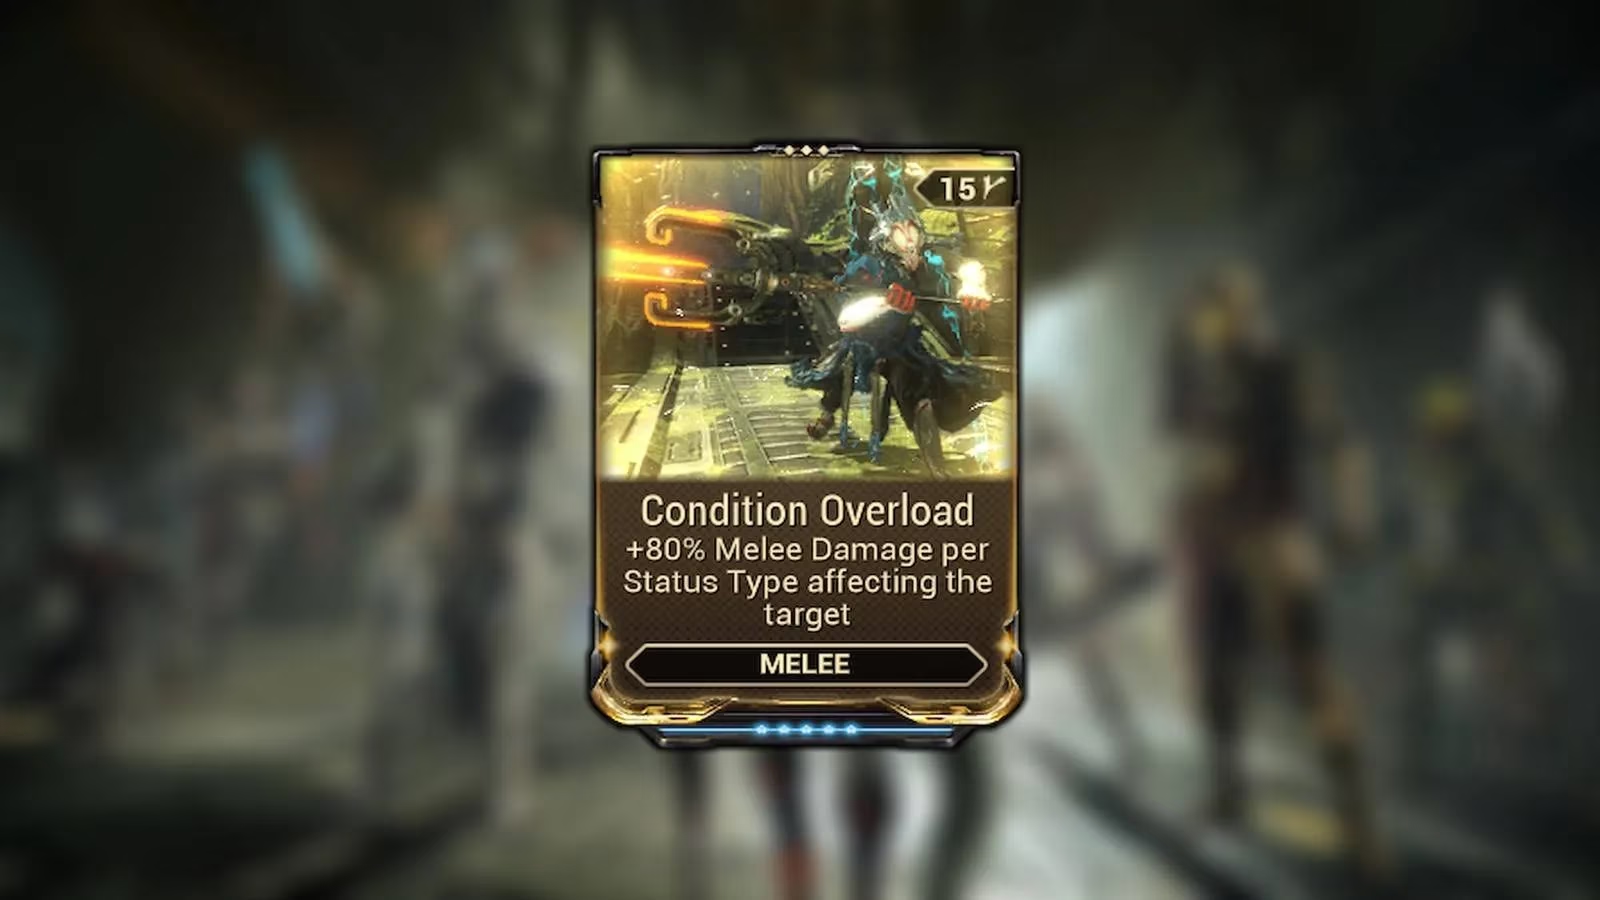
In the chaotic, ever-evolving world of Warframe, few mechanics have caused as much confusion, joy, and spreadsheet-induced headaches as the infamous Condition Overload effect. What starts as a simple concept—hit enemies with status ailments to hit them harder—quickly spirals into a vortex of additive versus multiplicative math, weapon-specific quirks, and the eternal question: to mod or not to mod? Every seasoned Tenno knows that while you can bludgeon your way through the Star Chart with raw power, true mastery comes from understanding these intricate damage systems. This deep dive unpacks the glorious, sometimes baffling, world of Condition Overload and its many cousins, offering a lifeline to players drowning in a sea of damage numbers.

At its heart, Condition Overload (CO) is beautifully straightforward. It's a melee mod that whispers a simple promise: for every nasty little status effect you plaster on an enemy—be it a searing Heat proc, a slowing Cold, or a corrosive mess of Toxin—your next melee swing gets an 80% damage boost. Stack four different statuses? That's a cool +320% damage. It's the Warframe equivalent of kicking someone when they're down, and then kicking them again for having the audacity to be on fire. This bonus damage stacks additively with other base damage mods like the venerable Primed Pressure Point.
The beauty and the beast of it is in the choice it forces. Why slot a plain old Pressure Point for a flat +165% damage when a well-status'd weapon with CO can easily outpace it? Savvy builders often ditch the traditional damage mod entirely, freeing up that precious mod slot for something that multiplies the carnage, like critical damage or attack speed. It's a classic high-risk, high-reward setup: if you can't apply statuses reliably, you're swinging a wet noodle. But if you can? You become a blender of elemental suffering.
Then, the plot thickened. DE introduced the Galvanized mods, often called GunCO by the community, bringing the CO philosophy to guns. But with new toys come new, head-scratching rules:
-
Base Effect: They start at +40% damage per condition (weaker than melee CO).
-
The Kicker: After a kill, they gain a stack, boosting that per-condition damage by another 40%.
-
Caps: Rifles (Galvanized Aptitude) and Shotguns (Galvanized Savvy) cap at +80% per condition. Pistols (Galvanized Shot) are the overachievers, capable of hitting +120% per condition.
-
Bonus: They also give your weapon a nice Status Chance boost.
Sounds great, right? Well, here's where the "fun" begins. The interaction between GunCO mods and your actual gun damage is about as consistent as a Grineer's aim. 🤪
| Weapon / Damage Type | Typical GunCO Interaction | Notes |
|---|---|---|
| Direct-Hit Guns (Bullets/Beams) | Additive with mods like Serration | Behaves predictably, like melee CO. |
| Projectile Weapons (Some) | Multiplicative with base damage mods | The good kind of weird! More damage! |
| Bows | Buggy / Reduced Effect | Currently underperforming. A known issue. |
This bizarre, weapon-specific behavior is widely believed to be a buggy mess waiting for a fix. For now, the community motto is "Test, Don't Assume." Is your favorite rifle dealing more damage with Serration and Galvanized Aptitude, or should you replace Serration? The only way to know is to shoot a poor, unsuspecting Corrupted Heavy Gunner in the Simulacrum and compare the big, beautiful numbers.
So, how does a modern Tenno navigate this landscape in 2025? The strategy is a mix of rock-solid principles and adaptive testing.
For Melee:
-
Embrace the Stack. Build for high status chance and multiple damage types. A weapon with innate Viral and you modding for Heat is a classic path to easy stacks.
-
Ditch the Old. Primed Pressure Point is often the first mod sacrificed on the altar of Condition Overload. The slot is better used for range, speed, or crit.
-
Synergize! Pair your status-spreading melee monster with a primer—a secondary weapon like the Kuva Nukor or Epitaph that can coat a room in 5+ status effects before you even swing.
For Guns (The Galvanized Gamble):
-
Primers are Your Best Friend. Just like with melee, a good primer makes GunCO mods ramp up instantly. Why build stacks when you can start with them?
-
Know Your Weapon's Quirk. Is it additive or multiplicative? The community wiki and your own testing in the Simulacrum are your guides.
-
Pistols are Kings (For Now). Galvanized Shot's higher potential ceiling (+120% per condition) makes top-tier secondaries absolutely devastating.
-
Patience is a Virtue. GunCO needs a kill to reach its full potential. In endurance runs or against super-tanky single targets, melee CO might feel more immediately powerful.
In the end, mastering Condition Overload is less about memorizing formulas and more about adopting a mindset. It's about seeing enemies not as health bars, but as blank canvases for your elemental artistry. 🔥❄️⚡ Each status effect is a brushstroke, and the final, catastrophic strike is your masterpiece. While the GunCO interactions can be frustratingly inconsistent, they also represent the deep, exploitable charm of Warframe's build-crafting. So, go forth, Tenno. Apply those statuses, run those tests, and turn the Origin System into your own personal condition-overloaded playground. Just maybe keep a calculator handy.