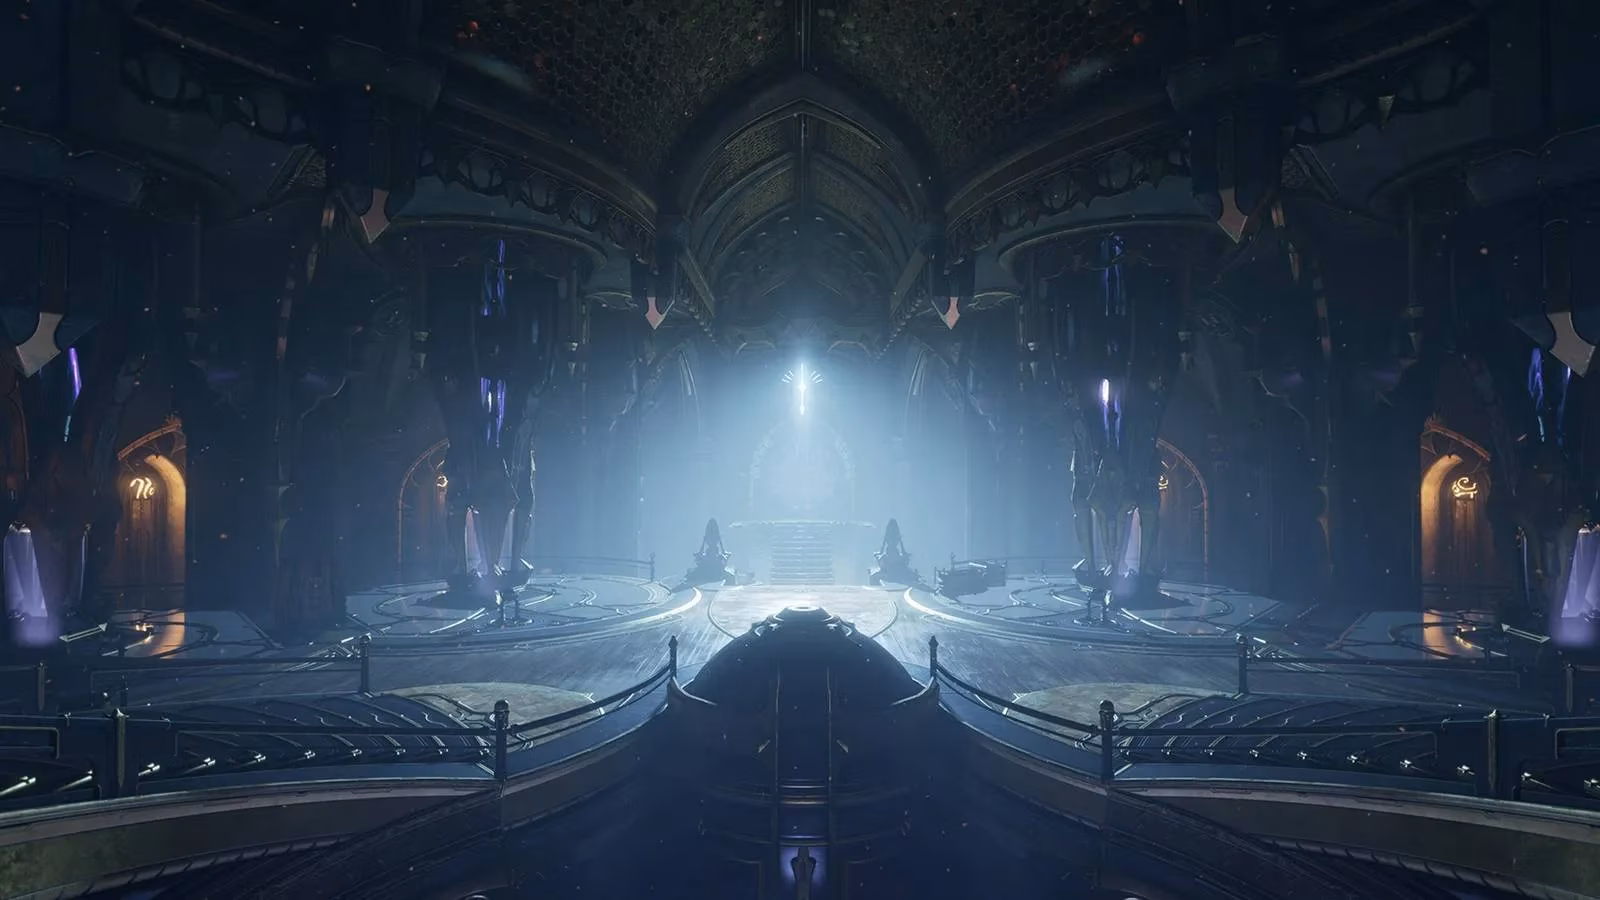
I still remember the first time I stepped into the Sanctum Anatomica after completing the Whispers in the Walls. Tagfer's cryptic words about hidden Entrati vaults called Netracells piqued my curiosity, but little did I know the challenge that awaited. Here I am, years later, a seasoned Tenno who has faced these trials countless times. The Netracells, these hidden repositories of power, promised rewards like Archon Shards and powerful Melee Arcanes. But as I quickly learned, opening these vaults is no simple task. The Murmur and their enhanced Necramech guardians stand ready to test your limits. So, fellow Tenno, are you ready to brave the depths and claim your prize?
The Crucial First Step: Understanding the Netracell Modifiers
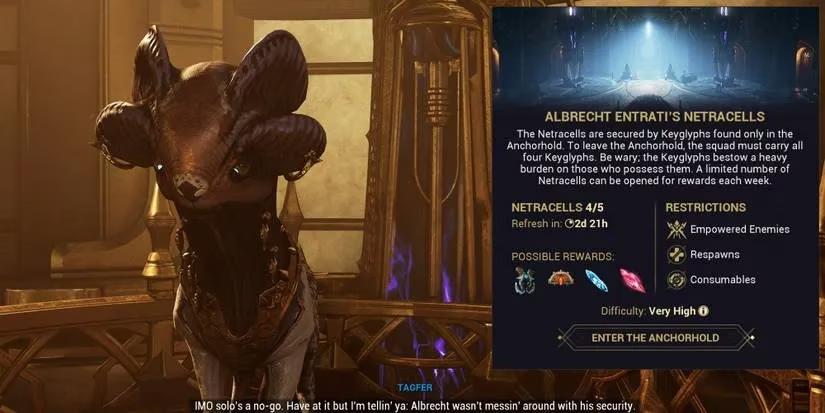
Before you even think about the loot, you must understand the rules of engagement. Speaking to Tagfer queues you for a run, but this isn't your standard mission. The game throws a brutal set of modifiers at you, designed to push even veteran players to their limits. Think of it as an Archon Hunt's more unforgiving cousin.
Let me break down what you're signing up for:
| Modifier | Effect | My Personal Tip |
|---|---|---|
| Level Range | Enemies are Level 190-210 | Don't underestimate this. Your builds must be optimized. |
| Empowered Enemies | +150% HP/Shields, scaling with squad size. More Eximus. | Squad play is a double-edged sword here. |
| Respawns | No self-revives. Bleedout timer shrinks with each revive. | This is the big one. Death has real consequences. |
| Consumables | Restore pads on a 3-minute cooldown. Summons disabled. | Say goodbye to your Specters and On-Calls. Plan your sustain. |
Survivability isn't just recommended; it's mandatory. You need a Warframe that can either become invulnerable or tank an absurd amount of damage. And with armored Necramechs everywhere, bringing a reliable armor-stripping ability is non-negotiable. Can you really afford to chip away at their health bars for minutes on end?
The Keyglyph Gambit: Choosing Your Burden
The mission begins not with combat, but with a choice. Your squad must pick up four Keyglyphs—ancient Entrati devices that inflict debilitating curses upon the bearer.
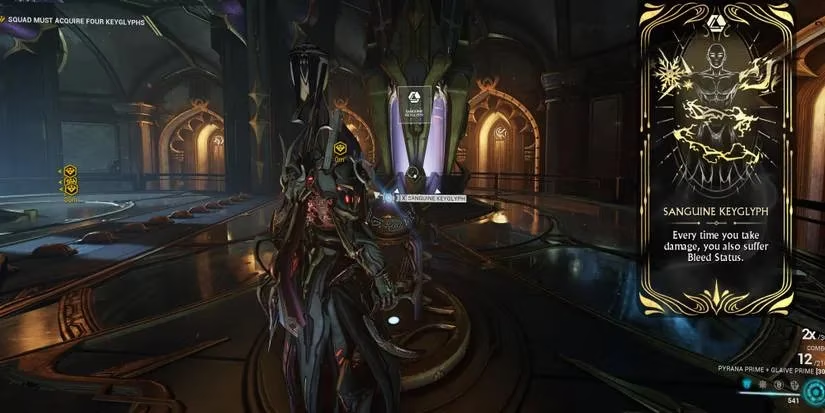
Think of them like the old Dragon Keys, but with more variety and bite. The debuffs are random each time you load in. Here's what you might face:
-
Energy Drain: A constant siphon on your energy pool.
-
Shield Disruption: Your shields are simply gone. Poof!
-
Exploding Foes: Enemies detonate on death, dealing heavy area damage.
-
Cursed Ground: Leaves damaging zones where you stand.
The strategy is simple in a squad: divide them up! One player takes the energy drain, another the shield disruption. But if you're going solo like I often do, you must carry all four. My advice? Don't be a hero. If the combination is too brutal—like shield disruption and energy drain—just abort and reload. The modifiers reroll, and your sanity is worth the extra loading screen.
Choosing Your Arsenal: Warframes for the Trial
Your choice of Warframe can make or break the run. This is endgame content, and you need tools that excel under pressure. Based on my countless runs, here are my top recommendations:
-
Revenant: My personal go-to for solo runs. Why? Mesmer Skin. This ability makes you immune to damage and status effects. It trivializes most Keyglyph modifiers and lets you focus purely on offense. It's the closest thing to a "cheat code" for this activity.
-
Xaku: The ultimate weapon against high-level armor. Their Grasp of Lohk scales with enemy level, stealing enemy weapons and turning them against their owners. Pair it with The Lost for full armor strip, and you have a walking arsenal of death.
-
Grendel: A tank that brings utility. Regurgitate strips armor, and Nourish provides energy and viral damage for your whole squad. He's incredibly durable and turns enemies into snacks and assets.
-
Citrine & Wisp (Support): For squad play, these two are invaluable. Citrine grants massive damage reduction and rains down health and energy orbs. Wisp's motes provide constant healing, fire rate, and crowd control with Breach Surge, which is especially deadly against Murmur units.
The Mission Flow: A Step-by-Step Walkthrough
With your Keyglyphs equipped and your Warframe chosen, the real work begins.
Step 1: Locate the Netracell.
The vault is hidden. You'll need to hack three marked computer terminals to reveal its location on your map.
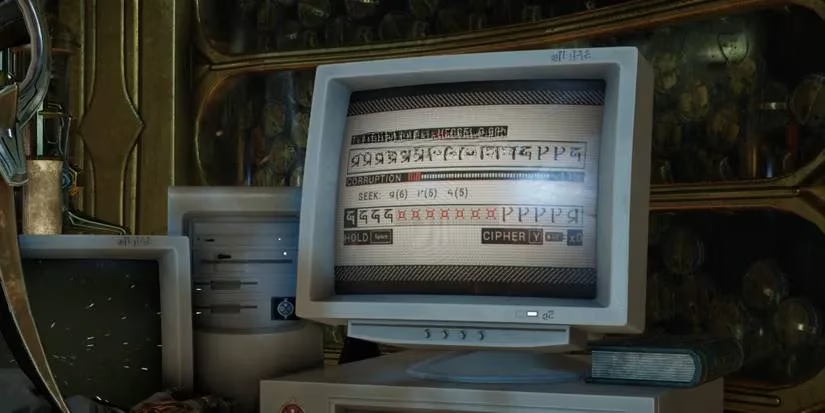
The hacking minigame is unique to the Entrati. Don't panic! You simply need to hold the jump button while the correct symbols scroll by. When red "corrupted" symbols appear, release the button. There's no timer, so breathe and take it slow. You can also find the vault through sheer exploration, but hacking is far more efficient.
Step 2: Lower the Security Level.
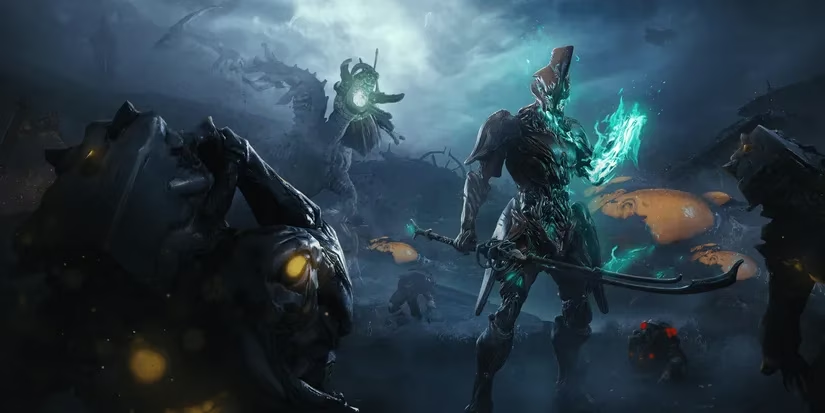
This is the combat gauntlet. You must kill hundreds of empowered enemies in the marked area. This is where your build is tested. Remember the weaknesses:
-
Necramechs: Weak to Corrosive and Blast damage.
-
Murmur: Weak to Radiation damage (they take +75%!).
Watch for the Drone! Periodically, a Netracell Drone will spawn, halting all progress. You'll hear a distinct beeping. Find this floating nuisance (often near walls) and destroy it immediately, then return to the slaughter.
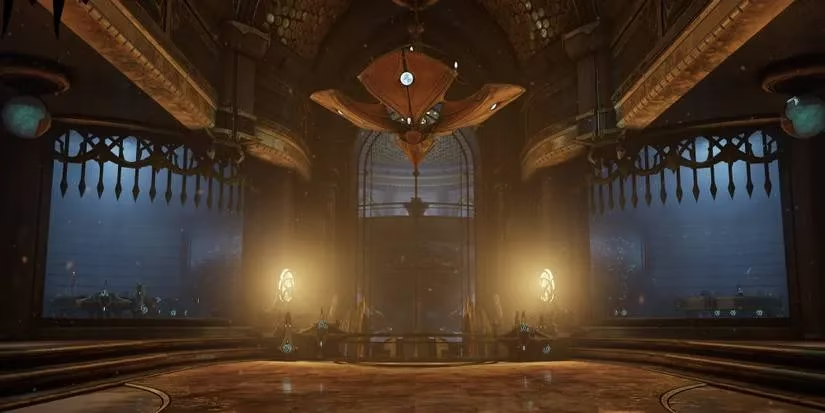
Step 3: Loot and Extract.
Once the security level hits zero, return to the now-accessible Netracell. Open it to reveal a treasure room. But here's the critical part: you only see your main reward after you successfully extract. Don't get greedy looking at the resources; get to extraction!
The Loot: What Are You Fighting For?
Ah, the rewards. This is why we endure the pain. As of the latest updates in 2026, the drop tables have been refined to focus on the truly valuable loot.
| Reward | Drop Rate | My Thoughts |
|---|---|---|
| Amber/Azure/Crimson Archon Shard | 17.5% each | The bread and butter. A 52.5% chance for any regular shard is fantastic. |
| Melee Arcane Adapter | 15% | Essential for min-maxing your melee weapons. Always useful. |
| Melee Crescendo / Duplicate | 10% each | Powerful arcanes for combo-centric and heavy attack builds. |
| Tauforged Archon Shard (Any) | 4.17% each | The jackpot. A 12.5% total chance for a superior, Tauforged shard is a game-changer. |
Crucial Notes:
-
You only get five rewards per week. The game tracks this. After five runs, you're just practicing.
-
The total chance for any Archon Shard (regular or Tauforged) is a whopping 65% per run. This is the best source for them outside of Archon Hunts.
-
There is no pity system or drop protection. RNG is RNG. I've had weeks of only adapters and weeks blessed with multiple Tauforged. It's the grind.
For those seeking the legendary arcanes, your path leads to Deep Archimedea. This is the true pinnacle, requiring you to sacrifice two Netracell runs for a chance at even greater rewards. But that's a story for another day... and requires a squad of the most hardened Tenno.
Pro Tips From the Trenches
After hundreds of runs, I've picked up a few tricks that aren't always obvious:
-
Find the Necramech Room: Scattered in the tileset are rooms with a friendly Necramech encased in glass. Hack the console to unleash it for a few minutes. Your own personal mech can turn the tide of the security gauntlet.
-
Operator/Drifter Hacking: Before hacking a terminal, switch to your Operator/Drifter, enter Void Mode (invisibility), then hack. You are immune to damage and most Keyglyph effects during the hack.
-
Radiation is King: If you're struggling to kill Murmur, mod one weapon purely for Radiation damage. The 75% damage bonus is massive.
-
Squad Synergy: In a team, coordinate! Have one player focus on armor stripping (like Styanax or Hildryn), another on crowd control, and others on raw damage. A well-oiled squad makes the five weekly runs a breeze.
So, Tenno, that's the Netracell. It's a test of your builds, your adaptability, and your patience. The first time you open that vault and see a Tauforged shard gleaming in the chest, all the struggle feels worth it. Now, gear up, choose your burden, and claim what the Entrati have hidden away. The vaults await. Will you answer the call?