Hey there, fellow Tenno! It's 2026, and I'm still diving back into the Veilbreaker update. Remember Kahl-175? That Grineer with a heart of gold (or at least, a heart not made of pure aggression) is back for his final weekly mission: Prison Break. If you're like me, you want to max out your weekly Stock to get your hands on those sweet Archon mods or finally snag Styanax. But let's be honest, finding all those collectables can be a real chore. Don't worry, I've got you covered. I've run this mission more times than I'd like to admit, and I'm here to share everything you need to know. Think of this as your personal, no-nonsense guide from one player to another.
Prison Break Mission Walkthrough
So, what's the deal with Prison Break? It's essentially a replay of the core "Veilbreaker" quest, but with a bunch of extra goodies hidden around for you to find. Your main goal is to free Grineer and Corpus soldiers from Narmer's control while fighting off Sentient enemies. It's a bit longer than the Junk Run mission, but I found the collectables (mostly) easier to track down this time.
Find Brothers
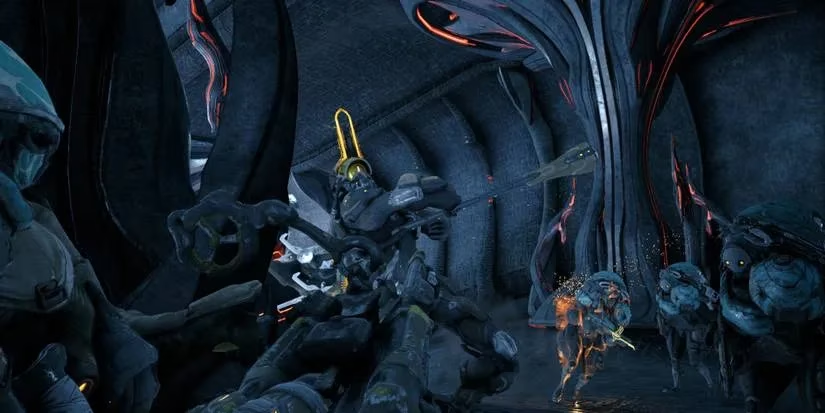
The first part should feel familiar. You'll enter the Sentient ship and find a trapped brother. Interact with him to start a jailbreak sequence where you have to defend him. Ever seen those weird rings that pop up and halt progress? Yeah, you or one of your brothers needs to stand in it to keep things moving. After rescuing your first brother, you unlock Command Mode. This is your key to success! You can now order your brothers to hold positions, blow up environmental debris, or focus fire on specific targets. Use it! Order a brother to clear the path, then keep moving deeper. Rescue more hostages, use Command Mode to handle the rings, and before you know it, you'll have a small army.
Expose Node Things

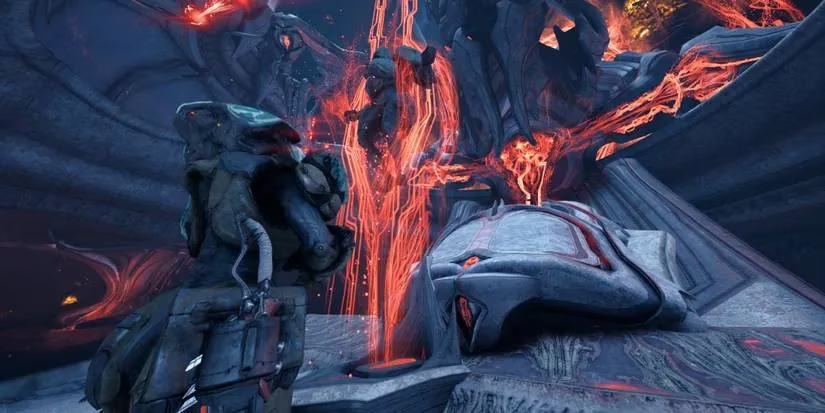
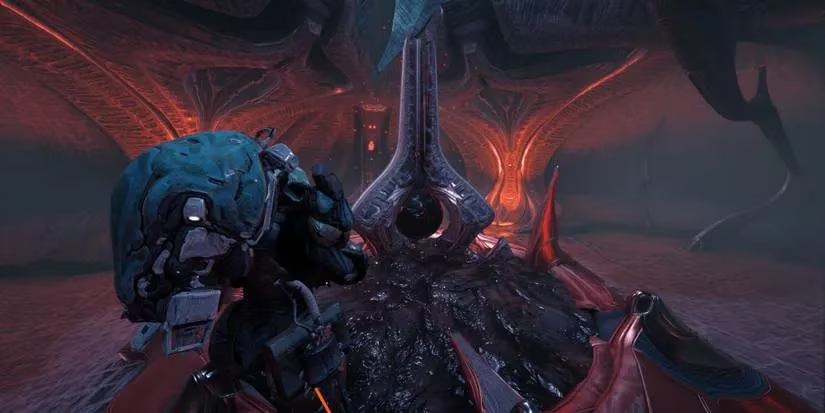
Once your squad is formed, the objective changes. You need to destroy three Immunodes in the area. This is where Command Mode shines again. Order a squadmate to detonate each one. After all three are down, the big, scary Sentient structure in the center becomes vulnerable. Unleash everything you have on it! Then, follow the waypoint to a transport ship. It's a shooting gallery on rails—just blast any Sentients in your way until you... well, crash. It's not a smooth ride.
After the crash, grab the Grattler Archgun (feels good, doesn't it?) and push forward. You need to rescue two more brothers to find the extraction point. It's the same drill: rescue, use Command Mode for rings. Once all hostages are safe, the path to evac opens, but of course, there's a catch. A Sentient-controlled Grineer is blocking the way. Time for a boss fight.
Defeat The Wolf Of Saturn Six
Remember the Wolf of Saturn Six from the first Nightwave? He's back! And he's just as tanky and mobile as ever, chucking his hammer around to stun you. My strategy? Use your jetpack! Stay airborne as much as possible and pepper him with the Grattler. Crucially, order your brothers to attack the Wolf. If you don't, they'll just waste time on the smaller Sentient enemies. Keep your distance, use your grenades wisely, and this fight shouldn't give you too much trouble. Once he's down, head to the waiting Railjack to finish the mission. 🎯
Finding All The Collectables
Alright, let's talk about the real reason we're here: the loot. To max your weekly Stock, you need to find Genestamps, Passwords, and Kahl's Floof. The mission has some random generation, but I've mapped out the patterns.
General Collectable Spawn Notes
First, some universal truths I've observed:
-
Location, Location, Location: Almost all collectables spawn in dead-end rooms in the tileset.
-
Genestamps: Can spawn in jail cell rooms and dead-end tiles. Five are guaranteed per run.
-
Passwords: Four symbols are hidden under debris in the first half. The cache they unlock is always at extraction.
-
Floofs: These cute little guys love hanging out near Genestamp corpses.
-
Somochord Fragments: There are two. One is static; the other might move around on floating platforms.
Veiled Grineer Locations
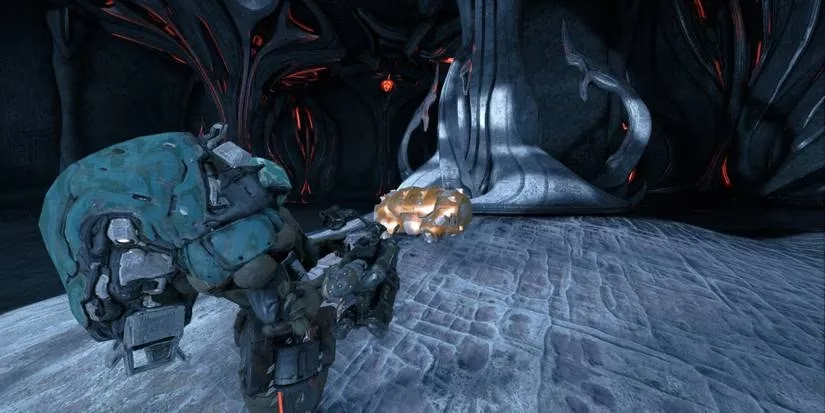
You need to rescue five Veiled Grineer for the weekly challenge. Where are they? Look in dead-end side rooms. Anytime you rescue a pair of brothers, check the side paths. These rooms often have one or two Veiled Grineer. A weird bug: sometimes they jetpack out of bounds. Just wait a moment; they usually reappear nearby.
To rescue them:
-
Use your Veilbreaker ability (third ability) to stun them.
-
Press your interact button to start the quick-time event (QTE).
-
Successfully break the Veil device, and they'll fight for you for the rest of the mission.
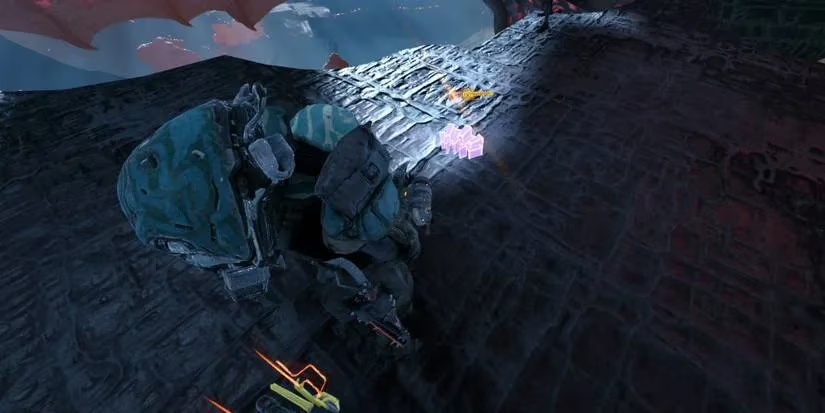
Genestamp Locations – Your Treasure Hunt Guide
Since the level is random, I can't give you GPS coordinates, but I can tell you the types of places to check. Explore all side rooms, and you should find all five in a run or two.
Here are the potential spawn areas I've consistently found:
| Area / Trigger | What to Look For |
|---|---|
| Path to First Brother | Three potential spots are clustered here: by Sentient mines, to the right of the jail cell, and further right in the same room. |
| First Duo-Brother Rescue Room | Check the middle floor near the top-right corner of the tile. |
| First Immunode ("Expose Node") | After interacting with the first Immunode, look to your right against a wall. |
| Near Somochord Fragment #2 | Sometimes a corpse spawns right next to this fragment, beside a Sentient wall. |
| Part Two Jail Cells (After Crash) | Once you find the two jailed brothers after the crash, scour the surrounding area. |
| Right Before Extraction | Just before you extract, look at the far-left pillar. Be careful not to extract accidentally! |
For the purely random dead-end rooms, here's the gist:
-
Y-Shaped Dead-End: Look slightly left as you enter.
-
Circular Dead-End: It's often right behind the Immunode in that room.
-
Two-Prong Dead-End: Check the very end of the furthest prong.
-
Brother Rescue Tiles: Usually near the middle of the room.
Password And Cache Locations
This one's straightforward but easy to miss. You need to find four password symbols hidden under rubble. Use Command Mode to order a brother to destroy the debris, then interact with the symbol.
Where to find Passwords:
-
Typically in dead-end tiles.
-
Sometimes in the first duo-rescue room (check the bottom floor, south side).
-
Sometimes in the top-left corner of the main "Expose Node Thing" room.
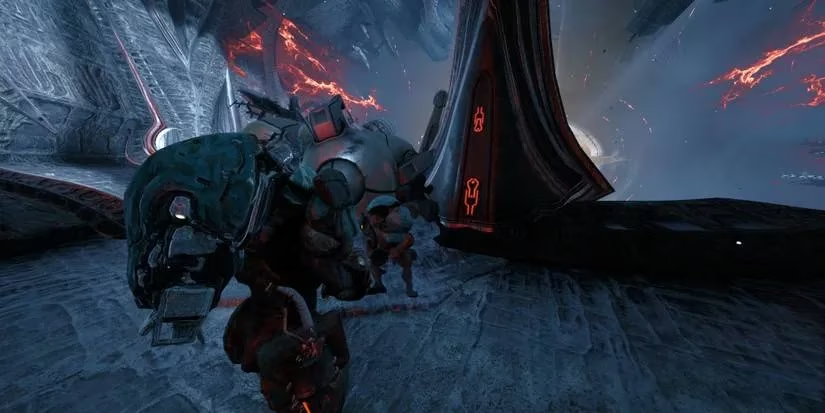
The Cache: After finding all four symbols, head to extraction. Look to your left near a pillar, and you'll find the Grineer chest you can now open. Sweet, sweet loot!
Immunode Locations
The challenge asks for five destroyed Immunodes, but it's easier than it sounds. Nearly every side room has one. You only need to seek out two in side rooms because three are guaranteed during the "Expose Node Thing" objective.
My hot spots:
-
After rescuing two brothers: Check the dead-end rooms connected to that jail cell tile.
-
After the "Expose Node Thing" objective: There's a side area to your left. The Immunode can be on the main path, floating to the right, or in a connected side room.
Floof Location
Kahl's Floof tends to spawn right next to Genestamp Grineer corpses. Seriously, if you find a body, look around! Since corpses favor dead-end side rooms, the key is thorough exploration. Check the Genestamp locations I listed above—any of them could be hiding your fluffy prize.
Somochord Locations
Only two to find, both in the first half. For us completionists, they're non-negotiable!
-
Somochord #1: During the "Expose Node Thing," fly up onto the circular platform right next to the first Immunode. It'll be sitting there.
-
Somochord #2: After destroying all the Sentient nodes, a Narmer gate drops to your left (near the second Immunode). Go through it. You'll see floating platforms on your right. The fragment is on one of them—just fly over and grab it.
And there you have it! A complete, from-the-trenches guide to conquering Warframe's Prison Break mission. It might seem like a lot, but once you get the flow, it becomes a pretty efficient Stock farm. Now get out there, break some Veils, and bring those brothers home! Good luck, Tenno. 👊