In the ever-evolving world of Warframe, the Veilbreaker update remains a standout piece of content, offering a unique perspective shift by putting players in the boots of the heroic Grineer soldier, Kahl-175. As of 2026, this mission continues to be a cornerstone for players seeking to bolster Kahl's Garrison reputation, unlock the parts for the warframe Styanax, and acquire powerful Archon Mods. The inaugural mission, Sneaky Sabotage, is a masterclass in stealth and puzzle-solving, tasking Kahl with infiltrating a Narmer facility on Venus. This guide provides the lowdown on navigating the mission's challenges, from the initial infiltration to the explosive finale, and details the locations of every collectible to help you max out your weekly Standing gains. Let's get this bread, Tenno.
Sneaky Sabotage Mission Walkthrough
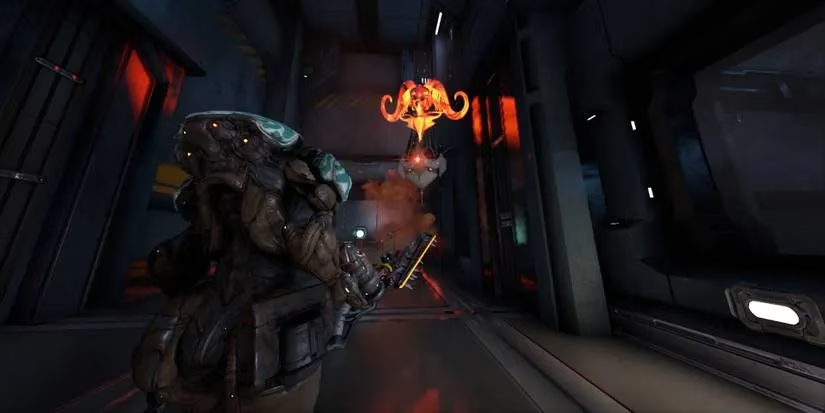
The mission kicks off with Kahl receiving guidance from Daughter. Your initial objective is straightforward: follow the waypoint. You'll soon encounter your first major obstacle—a locked door guarded by a Sentient camera. This is where the mission's core mechanic comes into play.
Sneak Into The Warehouse
-
First Camera: Interact with the terminal near the first camera. Take control and rotate the view until you spot a power box. Interacting with it will cause a short-circuit, lowering the energy barrier. Proceed to the next room.
-
Second Camera & Tutorial: The next room introduces camera-swapping. Control the camera and destroy the power box to your left.
-
Rotate right to destroy another box.
-
Look slightly upward to spot another camera. Swap to it to gain a new vantage point.
-
From this new camera, locate and destroy the power box locking Kahl in the room.
-
Unlock The Big Door
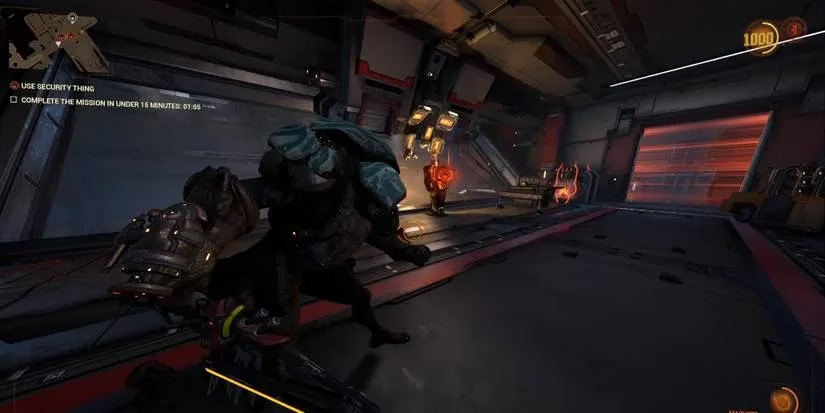
Your next goal is to unlock a massive door by destroying four locks. This requires using cameras scattered throughout the first half of the facility to find and sabotage hidden power boxes. It's a bit of a scavenger hunt, but the game provides waypoints to general camera terminals for each lock. The key is to think outside the box and explore each camera's full range of motion.
Find Production Tools (The Rekey Section)
Once the big door is open, the real puzzle begins. You'll reach a control panel overlooking the facility's main generator.
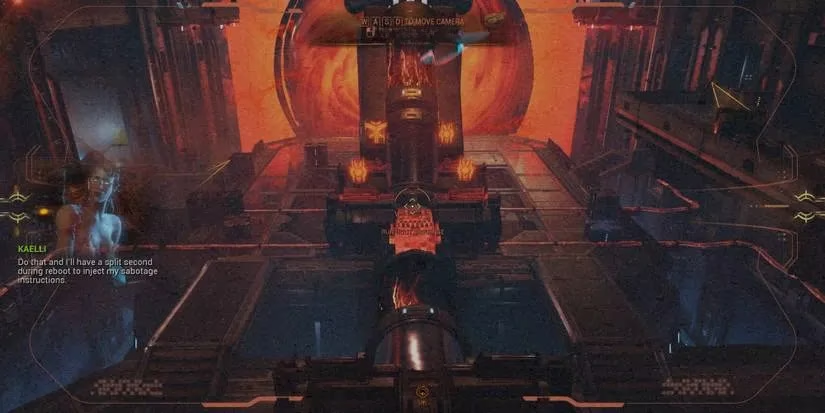
Your objective is to match four symbols shown on this central console with symbols found in the corners of the room. You must use the Sentient cameras to view and then select the correct symbols. For efficiency, follow this order:
| Corner | How to Find It |
|---|---|
| Top Right | Activate a lift at the back-right of the room. The symbol appears as the lift descends. |
| Bottom Left | Use the camera to your right. Activate a wall drone; a symbol flashes when it grabs a crate. |
| Top Left | Use a tucked-away camera directly across. Look down and to the right. |
| Bottom Right | Look directly across from the central console. |
Successfully inputting the correct sequence triggers a facility-wide alert. It's go time.
Escape & Boss Fight
-
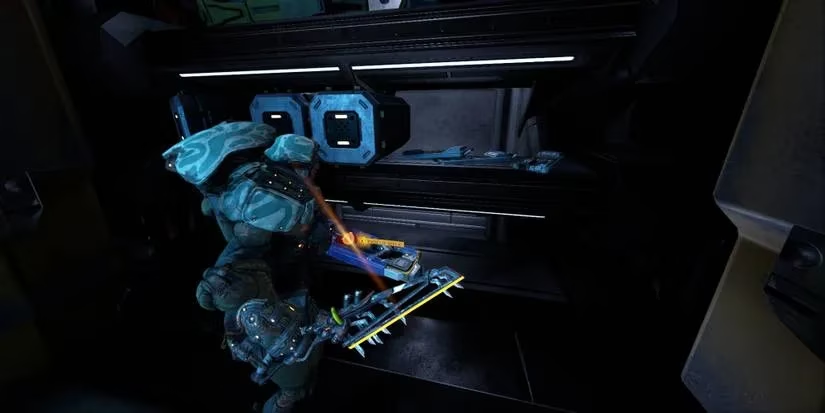
Gear Up: Immediately grab the Exergis shotgun from the locker behind you.
-
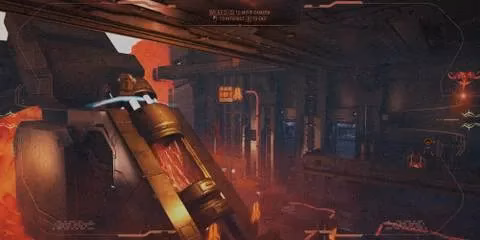
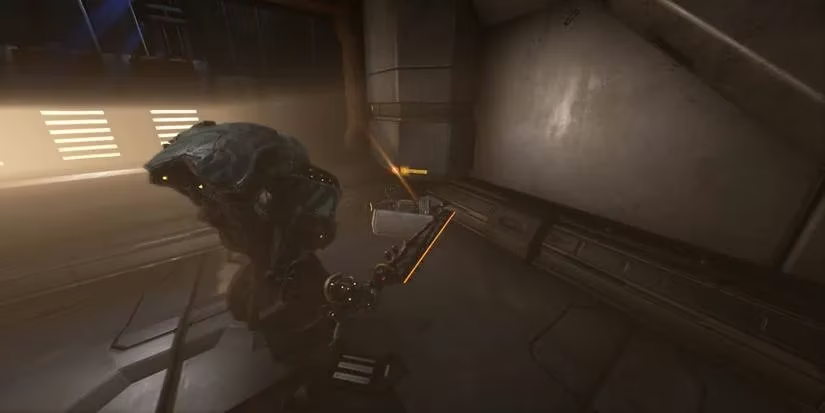
Plasma Torch: Fight your way to the waypoint to acquire the Plasma Torch, a laser-guided explosive marker.
-
Deacon: Use the Plasma Torch on the Deacon target below you to eliminate it.
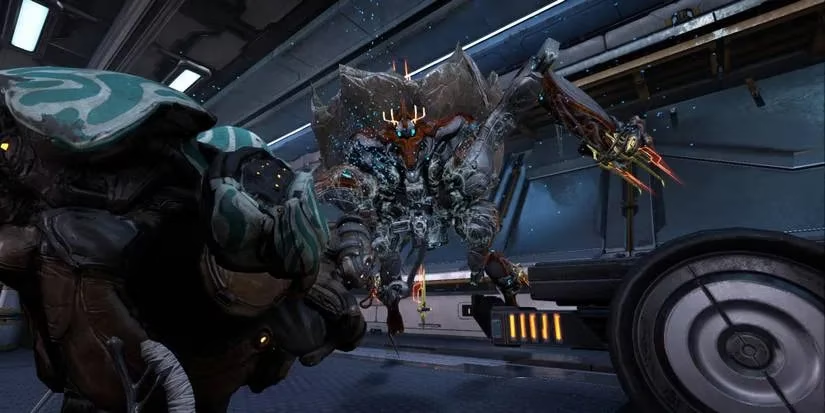
Your escape is interrupted by a Narmer Scyto Raknoid. This boss has a hefty health pool, but you have the tools to deal with it.
-
Phase 1: Shoot the cryo barrels in the arena to freeze the Raknoid, then hit it with the Plasma Torch for massive damage. Repeat.
-
Phase 2 (at 50% HP): The Raknoid becomes more aggressive. Continue marking it with the Plasma Torch, and supplement damage with grenades and the Exergis. Once it's down, sprint to your extraction ship to complete the mission.
Collectibles & Challenge Guide 🎯
Completing secondary challenges is crucial for maximizing your Kahl's Garrison Standing. Here’s where to find everything.
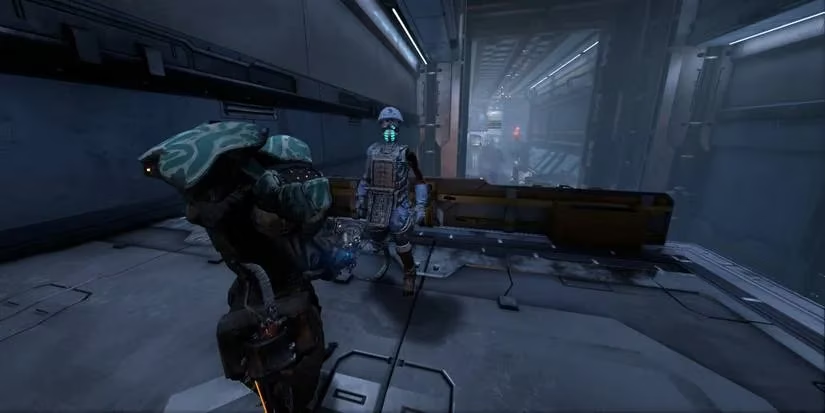
Break Narmer Veils (5 Veiled Solaris Workers)
Use Kahl's third ability to stun nearby workers, then press the interact key to free them. They spawn in various locations; check these spots:
-
Chipper's Room: From the second camera, go downstairs into a cube-shaped room.
-
Southwest Edge: In the first half, head to the left-most area, go downstairs.
-
Vent Rooms: From Worker #2, use an air vent; workers can spawn in the subsequent rooms.
-
Near Lock #4: While lowering an elevator, climb the stairs to your right.
-
Central Rail: Climb the support rail in the first half using storage containers.
-
Second Half, Northern Wall: Hug the northern wall and go upstairs.
-
Under the Generator: In the second half, walk under the massive generator.
-
Plasma Torch Room: Check near where you grab the Plasma Torch.
Genestamp Collection (5 Genestamps)
These Grineer dog tags are found on specific corpses. Not every body has one. Reliable locations include:
-
Near the second camera room.
-
Under the staircase leading to Lock #3's camera.
-
The walkway after freeing Chipper.
-
Mirrored western path from Location #2.
-
In crates and air vents in the first-half facility.
-
Near storage containers and corners in the second-half facility.

K-Drive Parts (5 Parts)
These parts are scattered and have random spawns. Check these spots each run:
-
Right of the second camera terminal.
-
On crates after exiting the second camera room.
-
Southwest staircase corner (first half).
-
Inside air vents on the western side.
-
Beside a window atop the central support rail.
-
On a table before the rekey objective terminal.
-
Beside the Plasma Torch spawn point.
Get Chipper's Tools (Toolbox)
This is a tricky one—the toolbox has fixed but rare spawns. We recommend checking just two spots per run to save time:
-
Southwest Staircase: Look under the bottom-most set of stairs in the first half.
-
Adjacent Cube Room: From the stairs, enter the nearby cube-shaped room and check the corners.
If the toolbox isn't in either spot, your best bet is to restart the mission. It's a bit of a grind, but the Standing reward is worth it.
Somochord Fragment Location
For the completionists, one Somochord fragment is hidden in the mission. During the first half, climb the central support rail using the rectangular containers. Follow the rail to a hidden area, then go down the stairs to find the fragment.
Pro-Tips for 2026 Veterans
-
Speed is Key: Familiarity with lock and symbol locations turns this into a fast weekly run. It's a real game-changer for efficient Standing farming.
-
Boss Cheese: Don't sleep on the cryo barrels in the Raknoid arena. Freezing it makes the fight a cakewalk.
-
Challenge Priority: Focus on finding the Toolbox and Genestamps first, as they are the most time-consuming. The workers and K-Drive parts are usually found along the main path.
-
Restart Strategy: If the elusive toolbox doesn't spawn in the two recommended spots, biting the bullet and restarting is often faster than a full-clear search.
The Sneaky Sabotage mission is a brilliant blend of stealth, puzzle, and action that still holds up years after its release. Mastering it is a rite of passage for any Tenno looking to fully empower Kahl's rebellion. Good luck out there, and remember: For the Brothers! 🫡